
How to apply dip powder nails, step by step.
This is NAGAIA’s complete application guide — the exact process from your kit, now online. Follow it start to finish for a salon-quality set that lasts weeks. No UV lamp, no special skills.
Prep and buff your nails, apply #1 Primer then #2 Base Coat, dip into powder at 45° and repeat for 2–3 coats, apply #3 Activator to harden it, shape and buff, then re-activate and seal with two layers of #4 Top Coat. Finish with cuticle oil — no UV lamp needed.
▶ Full video walkthrough — placeholder for your YouTube / MP4
What you'll need
Everything the process uses, from prep to finish.

Prep your nails
Steps 1–3Clean, oil-free nails are the whole foundation — this is what makes the color bond and last for weeks.
 01
01
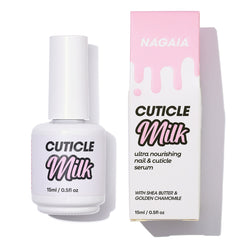
Wash and sanitize your hands first. Then apply NAGAIA Cuticle Milk along the cuticle line and eponychium — it gently softens the skin so dead cuticle lifts away cleanly, giving you a tidier nail that helps the mani last.
 02
02
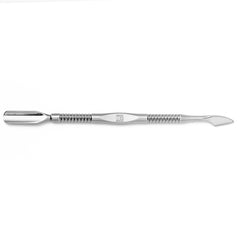
Gently scrape the eponychium and push the softened cuticle back with your pusher. Wipe every nail with a clean, lint-free pad to remove any milk residue or oil — the surface has to be completely clean.
 03
03
Lightly buff the whole nail plate until the shine is gone and it looks matte, paying special attention around the cuticle and the edges. Don’t over-buff — you only want to dull the surface, never thin the nail.
Uses: Cuticle Milk · Cuticle Pusher · 100/180 File
Primer & base coat
Steps 4–5The primer preps the nail; the base coat is the wet layer your powder actually grabs onto.
 04
04
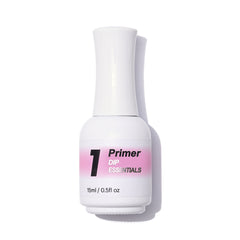
Apply a thin, even layer of #1 Primer Liquid over the entire nail surface, getting full coverage right up to — but not onto — the cuticle. Let it air-dry for 60 seconds.
 05
05
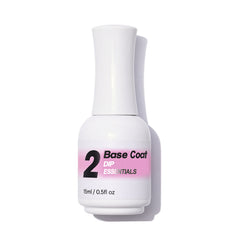
Working one nail at a time, apply a thin, even layer of #2 Base Coat over the whole nail. This is the wet adhesive layer the powder grabs onto, so keep it thin and don’t flood the cuticle or sidewalls.
Uses: #1 Primer · #2 Base Coat
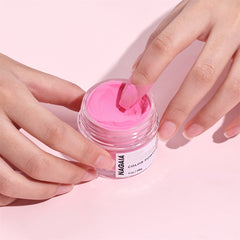
Dip the color
Steps 6–7This is where color builds. You repeat base → dip → tap for each coat until it’s fully opaque.
 06
06
While the base coat is still wet, dip the nail into the powder at a 45° angle in one smooth motion, moving it gently toward the cuticle so the color reaches the whole nail.
 07
07
Lift the nail and firmly flick your finger to dust off the loose powder, or sweep it away with a fluffy brush. Dusting off well is what keeps the surface smooth instead of gritty under the top coat.
Repeat steps 5–7 for each coat — usually 2–3 — until the color is fully opaque.
Uses: #2 Base Coat · Color Powder
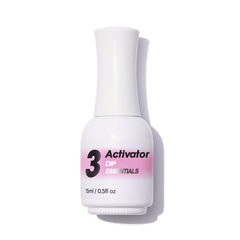
Activate
Step 8The activator is the chemistry that hardens the powder solid — this is what replaces the UV lamp.
 08
08
Apply a generous, even coat of #3 Activator over the entire nail. This is the reaction that hardens the powder into one solid layer — it’s what cures dip powder with no UV lamp at all.
Uses: #3 Activator
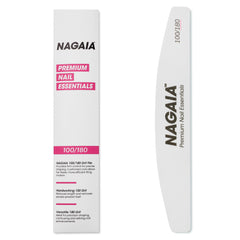
Shape & smooth
Steps 9–10Now that it’s hardened, refine the shape and surface before you seal everything in.
 09
09
Once the surface has hardened, use a NAGAIA 100/180 File to gently contour and tidy the free edge — a light edge refinement, not a full reshape of the nail.
 10
10
Go over the surface with a NAGAIA Buffer Block to even out any bumps, being careful not to file down into the color layer. Then brush away all the powder and filing dust.
Uses: 100/180 File · Buffer Block
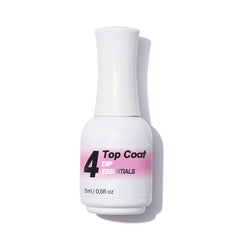
Re-activate & seal
Steps 11–13A second activator sets the freshly-filed surface, then two top coats lock in a glass-like shine.
 11
11
Reapply #3 Activator over the entire nail surface. This second pass re-sets the freshly-filed surface so the top coat goes on smooth and seals properly.
 12
12
Apply an even layer of #4 Top Coat to each nail and let it dry at least 1 minute. Cap the free edge by brushing along the very tip — that’s what stops chips and tip wear.
 13
13
Apply a second even layer of #4 Top Coat and let it dry 2–5 minutes. Two thin coats give a deeper, glass-like shine that lasts longer than one thick one.
Uses: #3 Activator · #4 Top Coat
Nourish
Step 14Finish by nourishing your cuticles and the skin around your nails.
 14
14
Massage a drop of NAGAIA Cuticle Oil into each cuticle and the skin around it for better absorption. Rub a little in daily to keep your nails healthy and conditioned between manis.
Uses: Cuticle Oil
- Read the instructions on each product’s packaging before your first at-home set.
- Keep all products out of reach of children.
- Soak-off removal results depend on your filing — file the product down to a thin layer for faster removal.
- The FRESH NAILS Remover Wrap (foil + liquid + cotton pad) is for soaking off, not for wiping your finished manicure.
Common questions
No. The #3 Activator cures the powder chemically, so dip powder needs no lamp at all — one of its biggest advantages over gel.
The first activator (step 8) hardens the powder so you can file and shape it. The second (step 11) re-sets the freshly-filed surface before you seal it with top coat — that’s what gives a smooth, durable finish.
Usually 2–3. Re-apply base coat before each dip and build until the color is fully opaque — lighter shades may need an extra coat.
Allow about 30–45 minutes for a careful set. It gets faster once the sequence is familiar.
Almost always prep: oil left on the nail, or base coat touching the cuticle or skin.